How To Edit Kilimanjaro Trek Photos Like A Pro
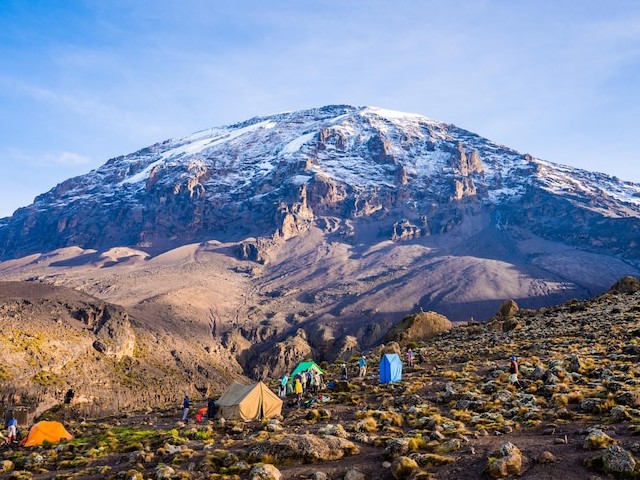
Embarking on a trek up the majestic Mount Kilimanjaro is not just a journey through physical landscapes but a voyage through some of the most photogenic terrains on the planet. From the lush rainforests at its base to the barren ice fields near the summit, Kilimanjaro offers a dynamic backdrop that begs to be captured and shared. However, capturing the mountain’s essence doesn’t end with just a click of your camera; the magic extends into the editing room. Whether you’re a seasoned shutterbug or a novice eager to showcase your adventure, learning how to edit your Kilimanjaro trek photos like a pro can transform your snapshots into breathtaking masterpieces.
Why Focus on Photo Editing?
In the age of digital photography, taking pictures is only half the battle. The art of photo editing allows you to enhance color, balance lighting, and convey the emotional undertone of the moment more effectively. For those who have taken on the challenge of climbing Kilimanjaro, your photos are not just images; they are stories. By mastering editing, you ensure these stories are told in the most compelling way.
Here at Kilimanjaro Centre for Trekking and Ecotourism (KCTE), we understand the importance of these memories and are excited to guide you through the process of elevating your photographic journey.
Essential Tools for Editing
Before diving into techniques, let’s discuss the tools you’ll need. Popular photo editing software includes Adobe Lightroom and Photoshop, which offer comprehensive features suitable for both beginners and professionals. Mobile apps like Snapseed or VSCO are great for on-the-go edits right from your smartphone.
Setting Up Your Workspace
Ensure your computer monitor is correctly calibrated for color accuracy. This setup is crucial for editing as it affects how colors and brightness appear on other devices.
Editing Techniques to Enhance Your Kilimanjaro Photos
Adjusting the Basics
Start with basic adjustments:
- Exposure and Contrast: Fine-tune these to ensure your photos neither too dark nor overly bright, maintaining natural contrast that reflects Kilimanjaro’s diverse environments.
- Saturation and Vibrance: Enhance the colors slightly to make your photos pop, but be cautious not to oversaturate.
Working with Light
Kilimanjaro’s weather can be unpredictable, and lighting conditions vary significantly. Use the ‘Shadows and Highlights’ sliders to recover details that might be lost in darker areas or washed out in bright spots.
Color Grading for Mood
Color grading is an essential tool for conveying emotion in your photos. For instance, a cooler color tone might reflect the harsh, chilly climate of Kilimanjaro’s higher altitudes, while warmer tones can highlight the lush, vibrant flora at its base.
Sharpening and Clarity
These tools can help in bringing out the textures of the landscape — the roughness of the rocks, the crispness of the snow, and the detailed patterns of local flora and fauna.
Advanced Techniques for Dramatic Effect
Sky Replacement
On days when the sky isn’t as impressive, some editing tools allow you to replace a dull sky with one that better complements the landscape.
Focus Stacking
For those who are more technically inclined, focus stacking involves taking multiple photos with different focus points and combining them to create a single image with greater depth of field.
HDR Processing
High Dynamic Range (HDR) processing can be particularly useful when dealing with challenging light conditions, helping to balance the light and dark elements of your photo effectively.
Tips for a Natural Look
While it’s tempting to heavily edit, the goal should be to enhance, not overpower the natural beauty of Kilimanjaro. Subtlety is key:
- Avoid over-saturation
- Keep skin tones natural
- Use effects and filters sparingly
Protecting Your Memories
Always save your original files and work on copies for editing. This practice ensures you have the unaltered original to return to if needed.
Conclusion: Bringing Your Trek to Life
Photo editing, when done right, can turn your Kilimanjaro trek photos from simple snapshots into profound tales of your adventure. We at Kilimanjaro Centre for Trekking and Ecotourism (KCTE) invite you to not only climb this iconic mountain with us but also to preserve and enhance your memories through skilled photo editing.
Whether you’re looking to fine-tune a few favorite photos or create a detailed album that portrays the grandeur of your journey, these skills will ensure you tell your Kilimanjaro story in the most visually stunning way. Book your climb with KCTE and let every picture you capture be as breathtaking as the climb itself.
FAQs: Editing Kilimanjaro Trek Photos
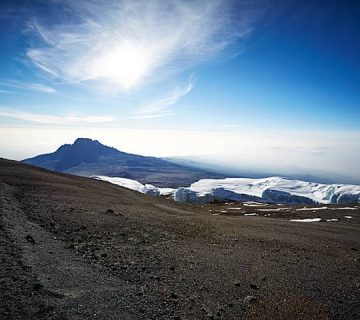
Q1: What is the best time of day to take photos on Kilimanjaro for optimal natural light?
- Early morning and late afternoon are typically best for photography on Kilimanjaro, providing soft, diffused light that enhances landscapes beautifully.
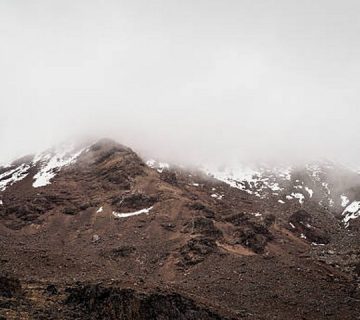
Q2: Can editing help if my photos were taken in bad weather?
- Absolutely! Editing can significantly improve photos taken in less-than-ideal weather by enhancing visibility and adjusting lighting and colors.
Q3: Do I need professional software to edit my photos effectively?
- While professional software offers extensive features, many free and user-friendly apps can also yield great results for basic to moderate photo editing.
Remember, each photo tells a story, and with the right editing skills, your tale of conquering Kilimanjaro will inspire awe and wonder in everyone who sees it. Ready to embark on your journey? Contact Kilimanjaro Centre for Trekking and Ecotourism (KCTE) today, and let’s make memories that last a lifetime, both on the mountain and in your stunning photographs!
